
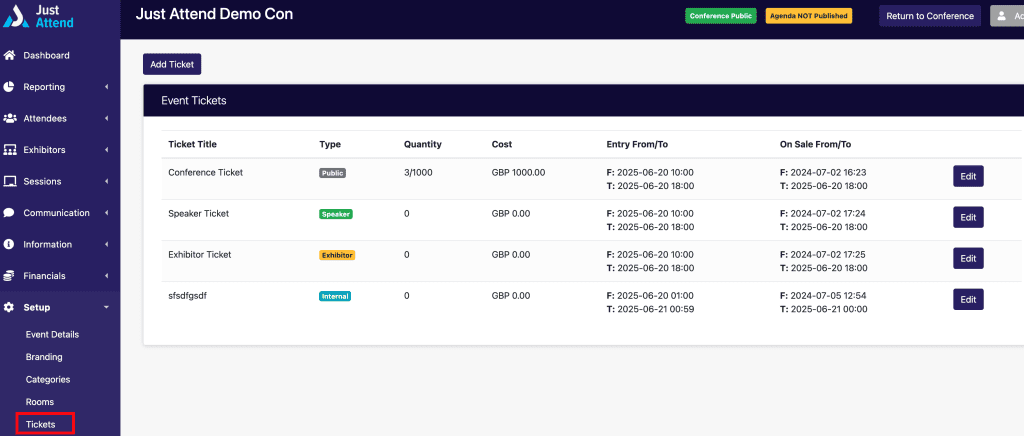
In order for attendees to register for your event you must create at least one public ticket to purchase. You can create and manage tickets in the conference admin portal Setup > Tickets
Before you begin make sure that you’ve setup your payment methods and tax settings if you’re planning to charge for tickets.
Understanding ticket types
There are 4 types of tickets you can add to the system:
- Public – these are tickets that will be available for sale to the general public
- Speaker – these are the tickets assigned to a speaker when they accept their speaking slot
- Exhibitor – these are the tickets assigned to exhibitor staff when they’re added as booth staff
- Internal – these are tickets that are available only to conference admins to register attendees manually with.
Both the speaker and exhibitor tickets are automatically created for an event. You must have only one of each type in your event of these. You can have as many internal or public tickets as you want.
At the moment it is assumed that both these ticket types will be free tickets when issued and the speaker or exhibitor staff member will not be required to pay. In future updates we will support multiple tickets for these types as well as condition based charging.
Ticket Availability
For each ticket you can configure when they should be on sale from and to as well as the number of tickets available to purchase.
You will see a running total of the number of tickets sold and remaining from the ticket configuration page.
Note: Speaker and Exhibitor tickets must have an availability number, but this number is ignored in the system currently when these tickets are issued.
When a public ticket has reached its availability, it will not be possible to purchase the ticket from the front end until the availability has been increased. However, as an admin, you can still manually register attendees using these tickets in the conference admin portal.
Configuring a ticket
Press Add Ticket to add a new ticket to your event and add the following information.
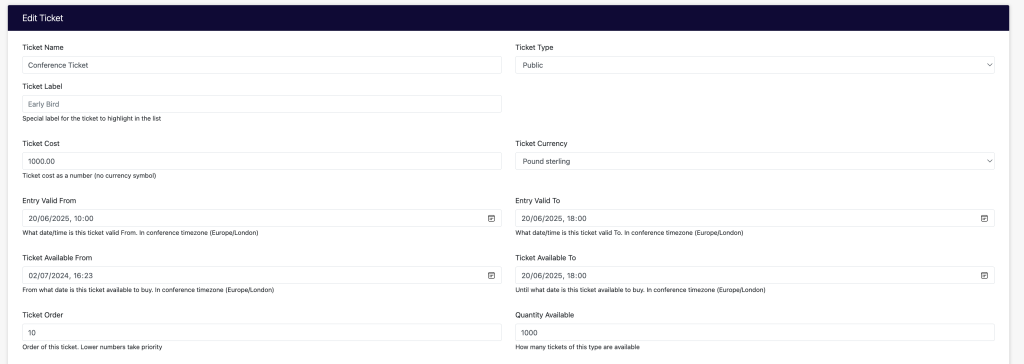
- Ticket Name – the name of the ticket as the attendee will see it
- Ticket Type – choose between public, speaker, exhibitor, or internal (default: public)
- Ticket Label – optional if you want to highlight a ticket offer e.g. “Early Bird”
- Ticket Cost – enter the amount including taxes your ticket will cost (enter 0 for free)
- Ticket Currency – choose the currency you are going to charge in
- Entry Valid From – the date and time (in your event timezone) that this ticket will be valid from
- Entry Valid To – the date and time (in your event timezone) that this ticket will be valid to
- Ticket Available From – the date and time (in your event timezone) that people will be able to purchase from
- Ticket Available To – the date and time (in your event timezone) that people will be able to purchase until assuming that it hasn’t sold out beforehand
- Ticket Order – the order this ticket will show on the buy tickets page (default: 10)
- Quantity Available – the number of tickets available of this ticket type
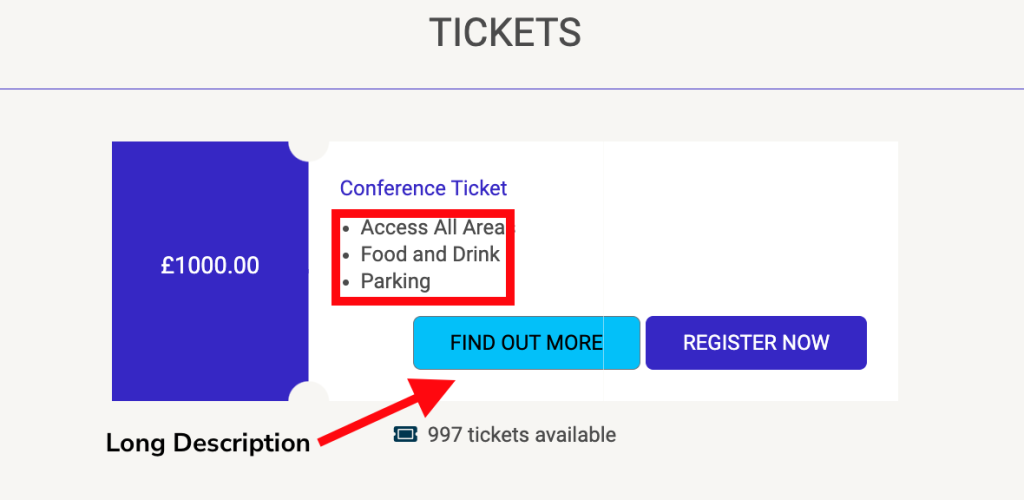
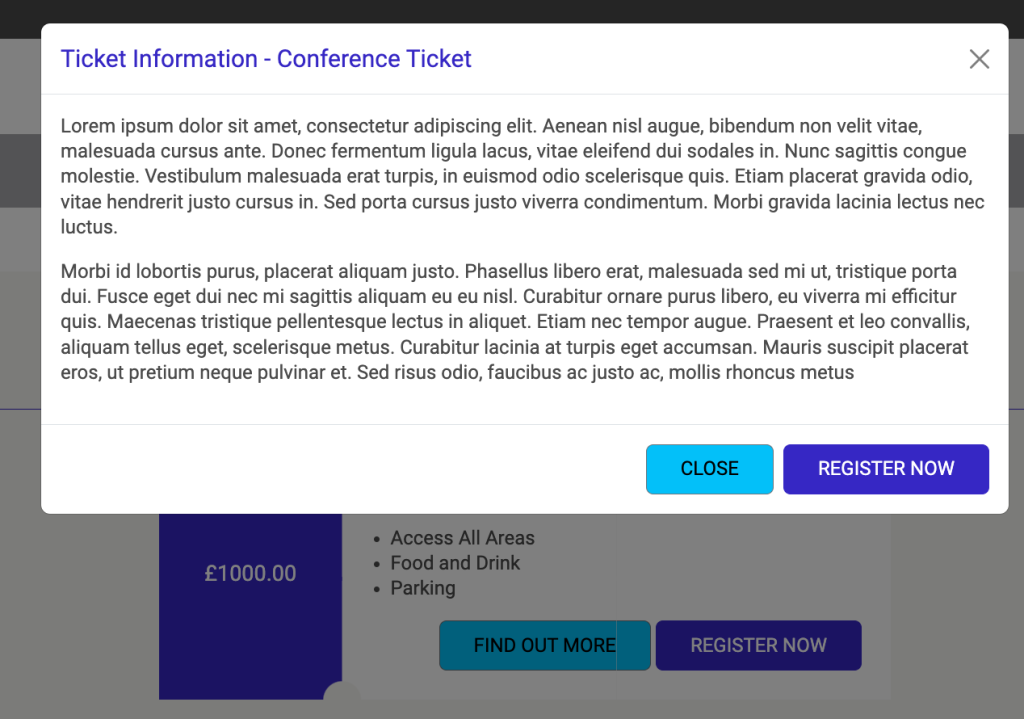
You can also add a short and long description of what this ticket includes or excludes which is shown to the purchaser
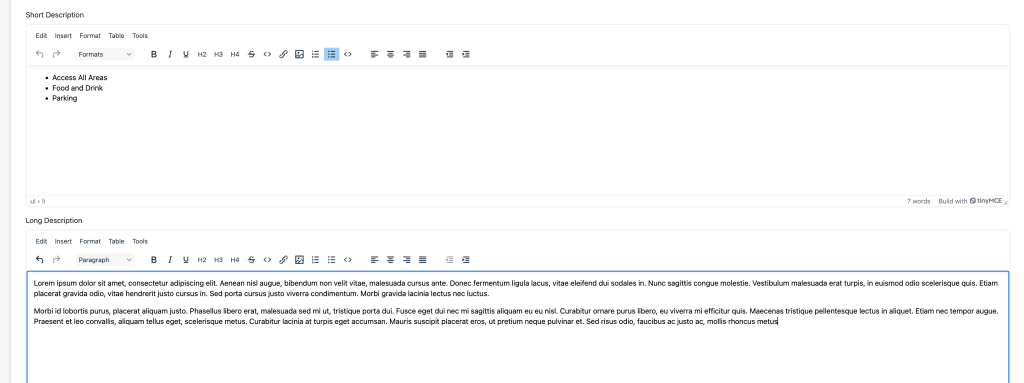
Short descriptions are shown on the ticket card on the front end and the longer descriptions are shown in a modal which is accessible using the “More info” button on the ticket card.
Sending tickets
Tickets are sent automatically by email when the purchaser has completed their registration steps. If they haven’t received their ticket, the main reason will be because they haven’t completed all their mandatory registration fields.
They can access their ticket by logging into the event portal and clicking on My Ticket or by logging into the Just Attend mobile app.
You can resend them their ticket at any time by finding their registration in Attendees > Active Attendees and then clicking Edit next to their account.
From the attendee detail page, scroll down to the Actions section and then press Email Ticket
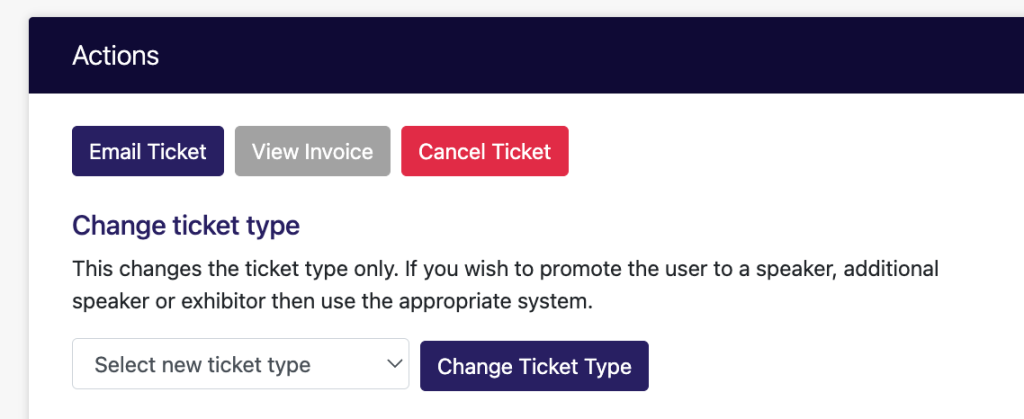
If you need to cancel and refund a ticket, click on the cancel button. Please read more about refund management here.
Changing ticket types
You can change a ticket that has been issued to another type from the actions menu when editing an attendee
If you need to transfer a ticket to another user, please read this article.