
When you sign up to Just Attend you will be invited by email to your event portal. The URL for your event will be unique to your event.
Just Attend provides a fully functioning front end website which you can use to promote and center your event around. This means that you don’t necessarily need another website to ‘front’ your event and can bring prospective attendees, exhibitors, and speakers to sign up directly on your Just Attend website.
You can of course choose to have a different website to market / promote your event brand and we offer a WordPress plugin that allows you to integrate exhibitors, speakers, and sessions from Just Attend into your WordPress website should you want a more tailored website theme and flow.
Whether you choose to use just our web platform or integrate with WordPress, users will always end up on the Just Attend platform at some point. Therefore it is important that you setup the platform properly, including branding and event meta information.
What you will need
Before you begin and for the best results you will need to prepare the following information and digital assets.
If you haven’t got all this information to hand in advance, don’t worry, all this can be added at any time.
| Information / Asset | Requirements |
|---|---|
| Your event logo for light backgrounds | Full color 2:1 aspect ratio with no padding, transparent background PNG format |
| Your event logo for dark backgrounds | White 2:1 aspect ratio with no padding, transparent background PNG format |
| Invoice logo (if different from event e.g. trading company logo) | Full color 2:1 aspect ratio with no padding, PNG format |
| Stacked logo (used as an alternative to inline) | Full color 1:1 aspect ratio, transparent background PNG format |
| Primary brand color (used for button background color) | hex code e.g. #4424C9 |
| Secondary brand color (used as text color over primary brand colour) | hex code e.g. #FFFFFF |
| Name of your event as you want it displayed to public | |
| Start and End date of your event and times | |
| Youtube video (optional) | Promotional video that can be displayed in the hero section of the main event homepage |
| Promotional Image | Will be used if there is no promotional video present. Useful for showcasing offers. For best results 1920 x 1080 pixels, 150-300dpi, PNG or JPG |
| Hero Background Image | Will be used in the hero section of the conference homepage as a cover image. For best results 1920 x 1080 pixels, 150-300dpi, PNG or JPG |
| Privacy Policy URL | You must supply a URL to your privacy policy your attendees have to accept as part of their registration |
Setting up your event
Log in to the event portal. You can do this by clicking on your event URL and using the login function. If you have lost this then click here.
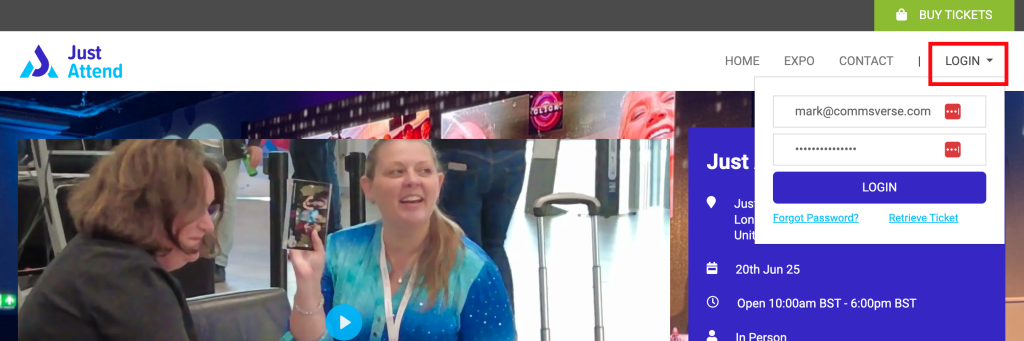
Once logged in, at the top of the page, click on the Conference Admin button to enter your admin portal.

The navigate using the left hand menu to Setup > Event Details
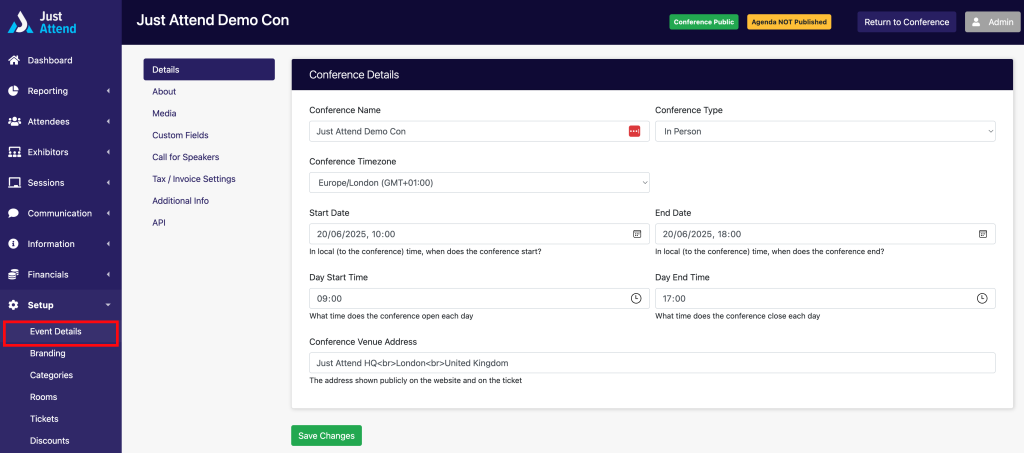
Use the form to enter your event information.
- Conference Name – the name of your conference as attendees will know it
- Conference Type – In-person, virtual, or hybrid
- Conference Timezone – the timezone the conference will take place in
- Conference Start Date – the date your conference will begin in that timezone
- Conference End Date – the date your conference will end in that timezone
- Day Start Time – the time your event will open each conference day
- Day End Time – the time your event will close each conference day
- Venue Address – The full address of the venue where your event is taking place
Press Save
It is important to save your changes on each tab page as they are not all saved together.
Once complete its time to add some information about your event so attendees can learn more and the reasons for attending. Click on the About tab.
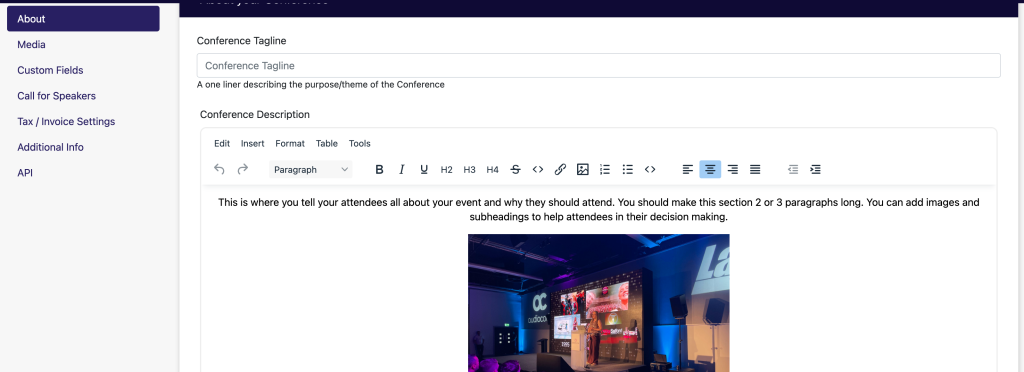
Here you can write about your event using the WYSIWYG editor. You may find it easier to document in a word processor like Microsoft Word first.
Be careful when using a word processor like Word that when you copy your text, all formatting, fonts, colors, sizes will be copied too. This can make the display of the information appear odd and out of keeping with the rest of the site. We recommend using a Word to HTML sanitizer before pasting into our platform in order to maintain the correct look and appearance.
Next it’s time to configure your conference homepage hero section. You can do this by clicking on the Media tab.
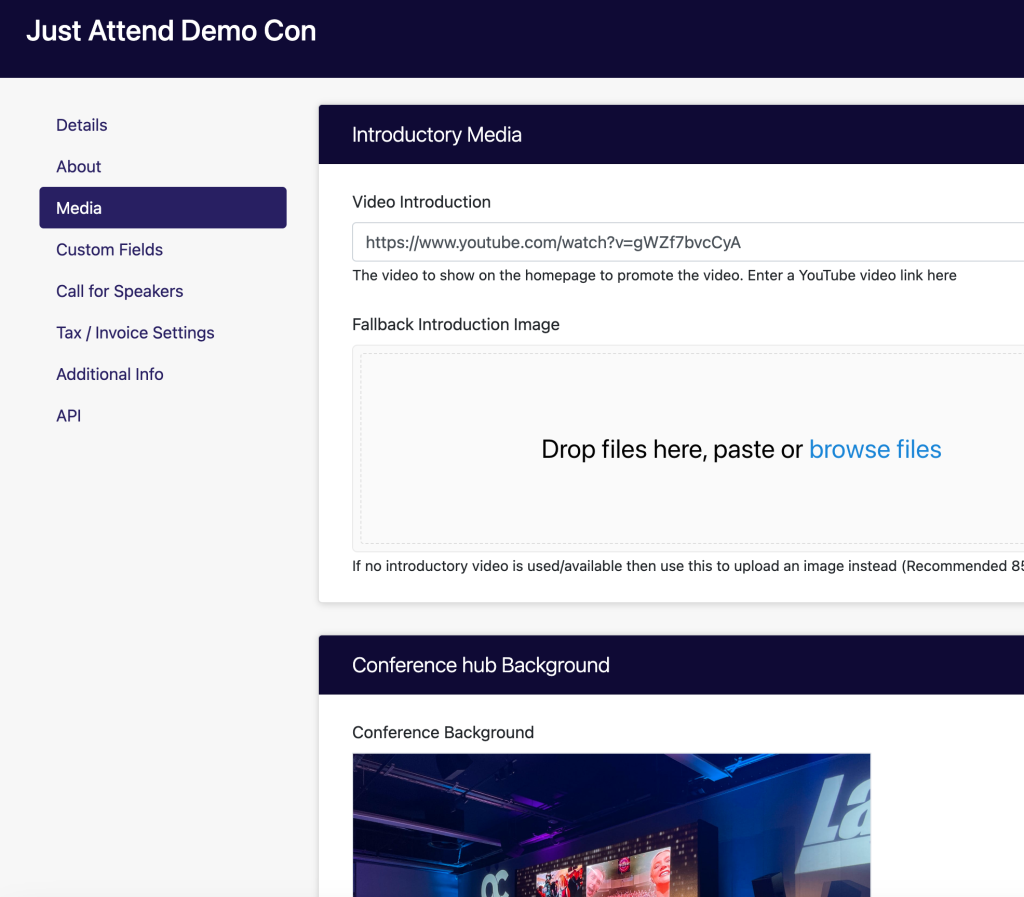
If you use a Youtube video, this will take precedence over any introduction image you might upload. If you want to show the image, remove the Youtube video link first.
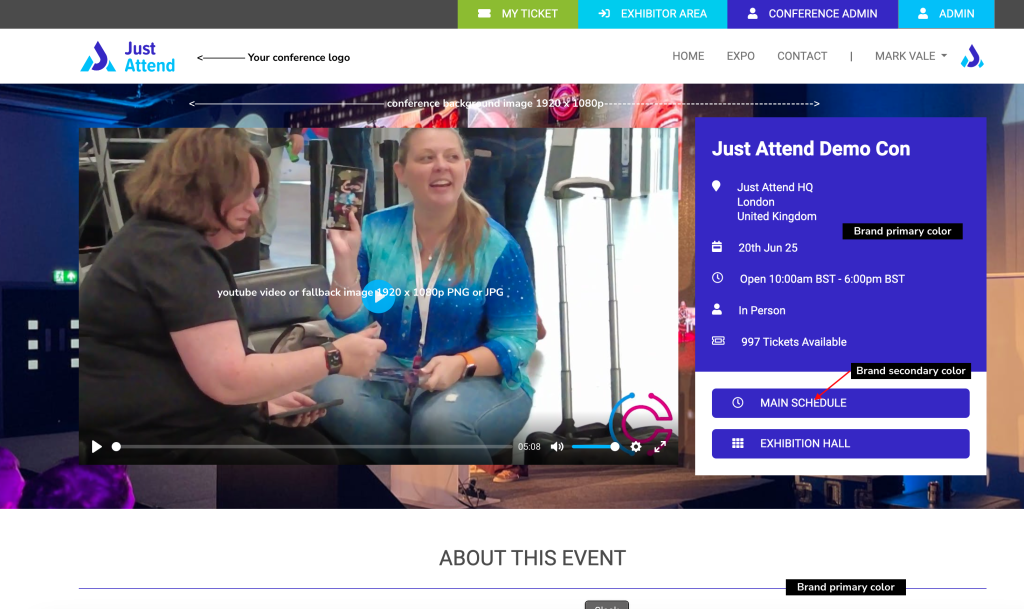
The background image shows in the hero section of the conference homepage only and is displayed full width, centered, and sized as a cover without repeat.
To better understand where these are used, see the below screenshot with descriptions.
Now you have the basic information available in your event portal, you can now add some branding. In Setup > Branding is where you’ll find the ability to choose your color scheme and upload your logos.
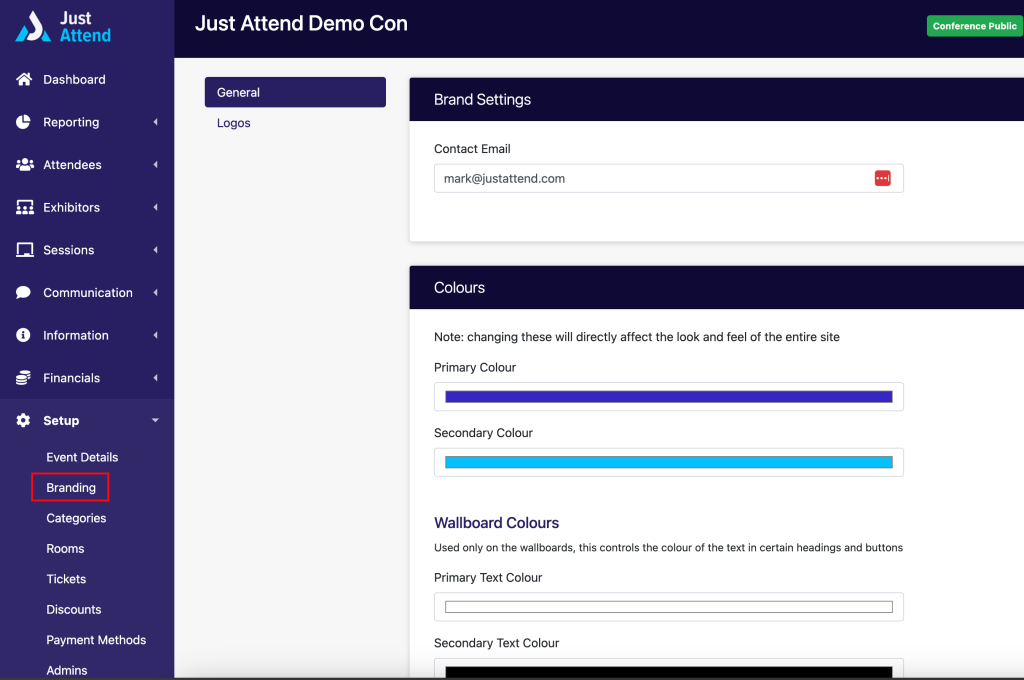
In the contact email, enter the email address you want any web inquiries to be sent when someone uses the contact us form.
Choose your brand’s primary color using the color picker. This will be the color of:
- the hero info box on the homepage as the background color
- the button background color of all submit buttons
- the footer background color of all pages
- the underline of all H1 and H2 titles
- the background color of all wallboards
- the header color scheme of the mobile app when logged into your event
The secondary color is used for the text color of all text on laid on top of your primary brand color.
Sometimes your brand colors may not work well as background and font colors in certain uses. For the wallboards, you can choose to override the text that clashes by choosing alternative colors.
Press Save to save your brand scheme.
Now click on the Logos tab to upload your logos.
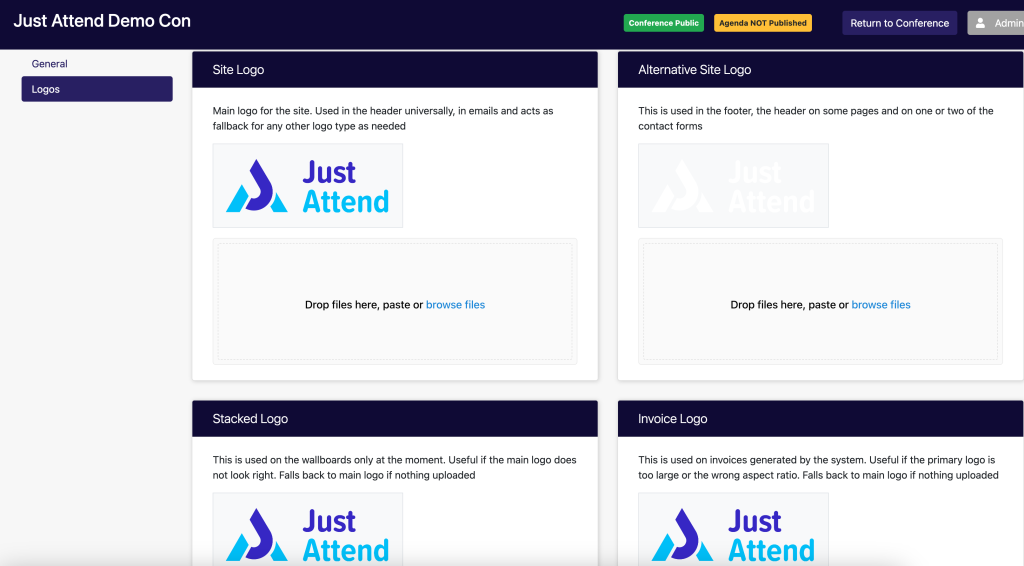
The only logo you need to upload is your site logo. This will be used in all places where alternative logos aren’t used.
Where your brand color is bold or dark, we recommend that you upload an alternative site logo that works on dark backgrounds that won’t clash. Upload this to the alternative site logo.
The stacked logo is only used on wallboards when the site logo isn’t visually correct.
The invoice logo is used on all generated invoices. By default this is the site logo, but if your trading company name is different to the event logo, then you can upload your company logo here.
Press Save to save your logos.
At this point your conference portal is branded and taking shape. There are more tasks for you to do to begin using it.
We’ve put together a checklist below for you.
| Task | Information | Article Link |
|---|---|---|
| Add conference details | Mandatory | |
| Set conference brand | Mandatory | |
| Add company billing info | your business billing details that will be shown on invoices | |
| Integrate with Stripe | Optional if you want to use Stripe as a payment gateway | |
| Setup Invoice billing | Optional if you want to accept invoice billing | |
| Create tickets | Mandatory to offer tickets for registration | |
| Set registration fields | Mandatory if you want to capture attendee information | |
| Configure Session Categories | Mandatory if you want to use call for content | |
| Configure Exhibitor Levels | Mandatory if you want to add exhibitors | |
| Configure Call for Content | Optional if you want public to submit session content for consideration |