
Your kiosk will arrive pre-configured for your event. Please follow these steps to get setup.
First, inspect the shipping case to make sure there is no visible damage. If there is, please take a picture before you open it.
To open the cases, twist the yellow tabs to snap the security locks. Don’t worry, they are one time use. You’ll need a pair of scissors to cut any zip ties that may have been added for additional security.
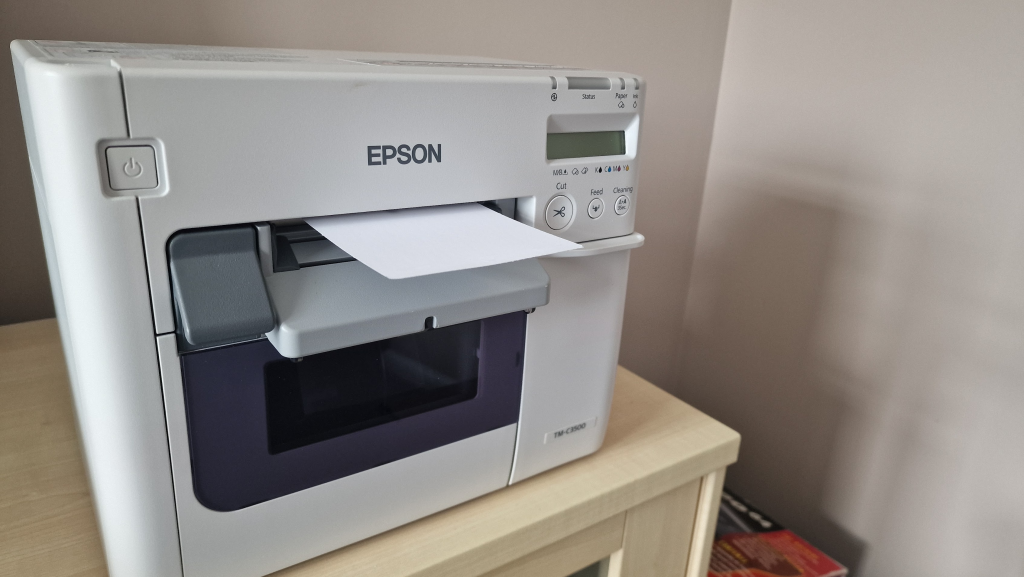
Lift the printer out of the case. Use both hands, its heavy (12kg / 26lbs).
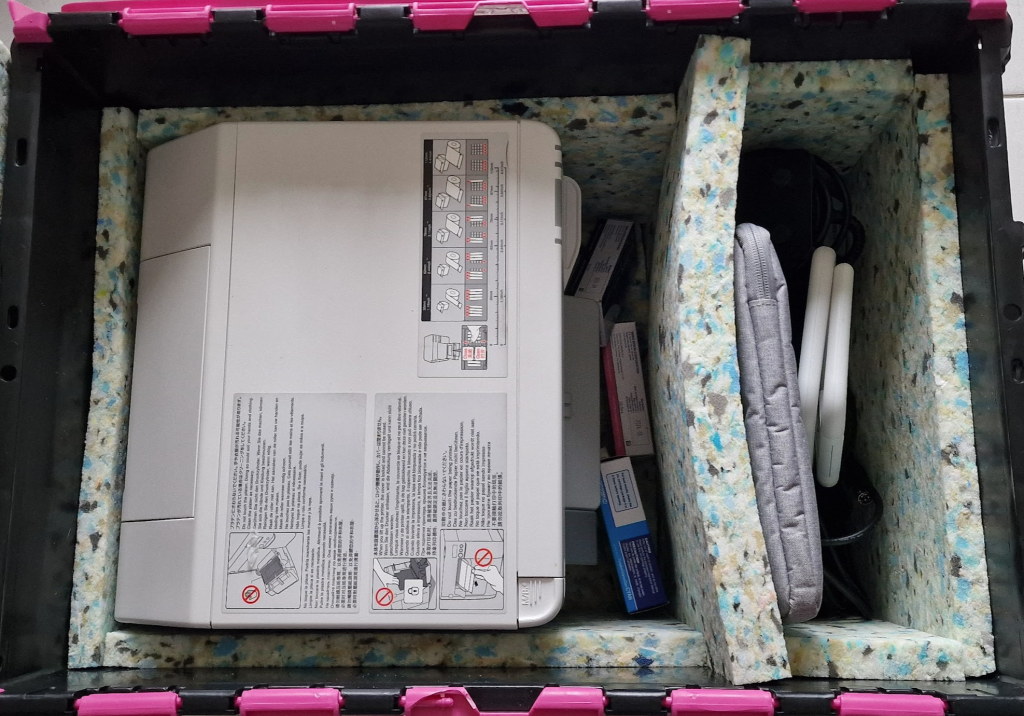
The printer will have it’s ink and waste box installed already. Any spare inks ordered will be in the box with the printer.
In the smaller compartment you will find a tablet or laptop depending on what you have ordered along with a USB Scanner and all USB and power cables.
To connect the power and USB cable to the printer, the connector ports are located under the rear lip of the printer. To access these easier, gently tilt the printer on to it’s front.

The power and USB cable only go in one way. The power connector’s flat side should face towards you. Push the connector in until it clips in and tilt the printer back upright.
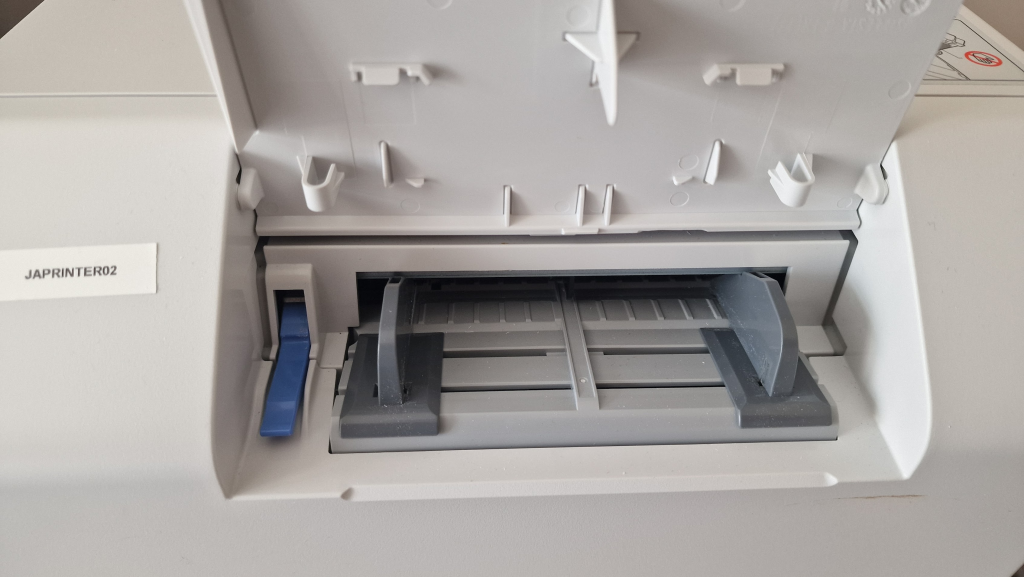
Next you are going to load the labels. These feed in through the back of the printer.
Lift the rear feed flap up, and open the front door of the printer by lifting the door release button upwards. The door will spring open.
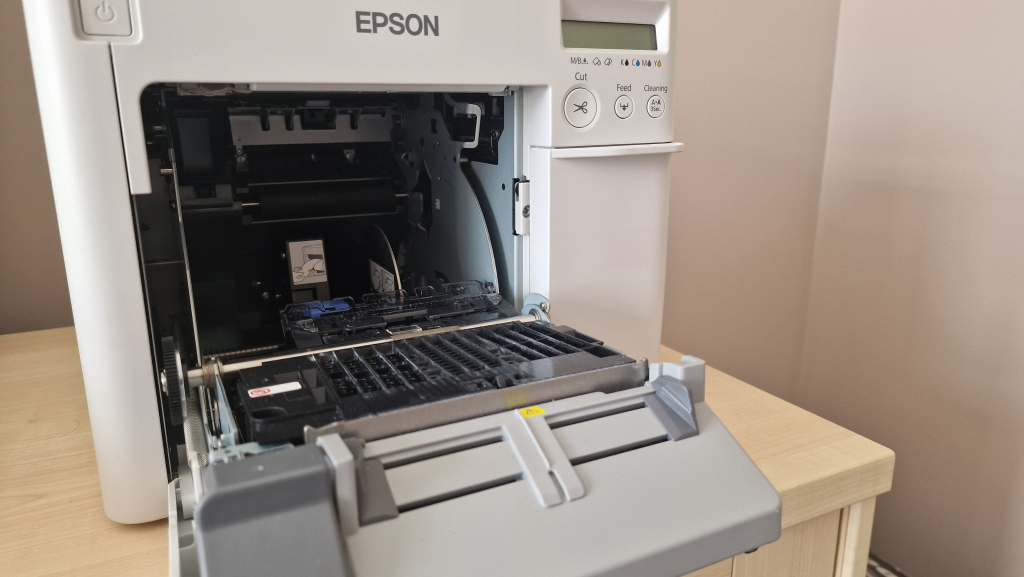
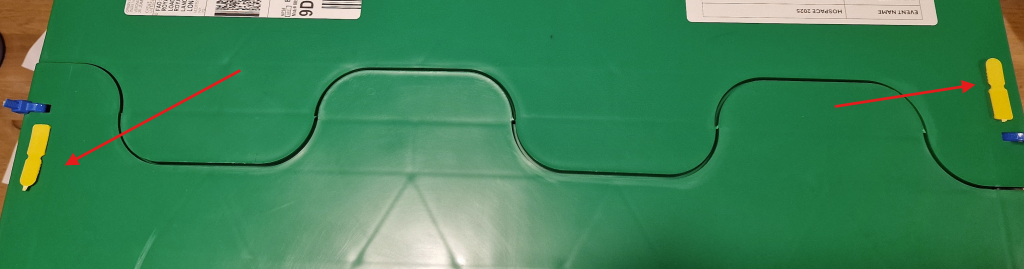
The badge labels have a black band on one side. The printer detects this band so it knows when the badge ends. The black band side faces downward to the floor. The print side faces upwards to the sky.
Feed the paper in through the back and pull it through with your other hand from the front.
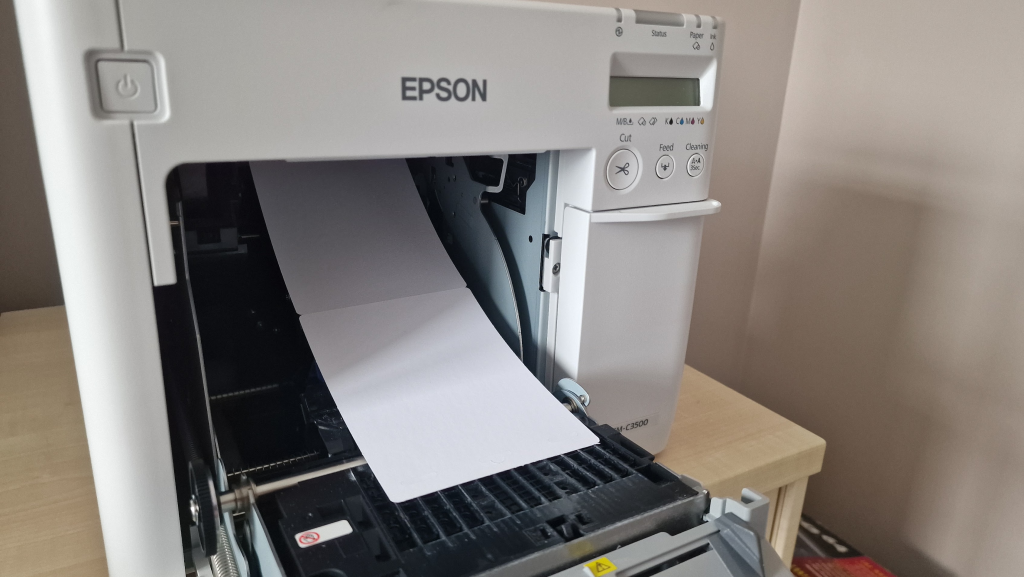
Pull half a badge length out to the front and close the front door of the printer.
If you need to adjust the rear paper guides, lift the blue level upwards, adjust the guides, then lock them by pressing the lever back down. The guides should be gently resting on the paper edge and not compressing it.
Now connect the other end of the USB cable to the laptop or tablet along with the USB scanner.
Power on the printer by pressing the power button on the front for approximately 3 seconds.
The printer can take between 2 and 7 minutes to initialize and finish its start up routine. This is normal. Don’t power it off when its doing this otherwise the whole process will start again.
The printer will eventually display Ready on the front LCD screen.
Whilst the printer is initializing, power on the laptop or tablet.
Enter the PIN code to login (this will be given to you by us in your email).
Connect the laptop to the venue WIFI in the normal way.
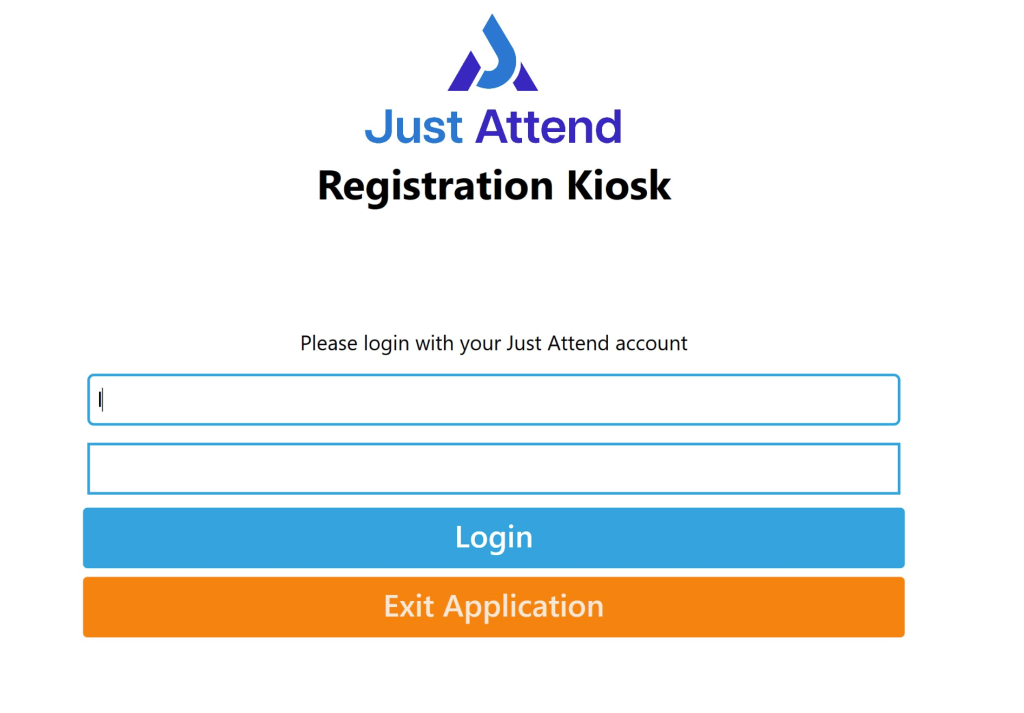
Once connected, double click on the “Just Attend Kiosk” application icon on the desktop.
Login to the kiosk using your Just Attend username and password
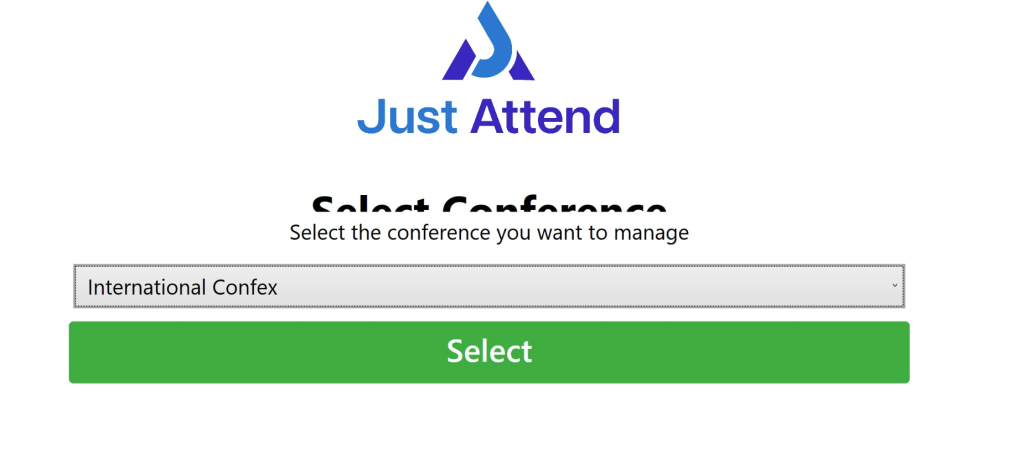
Select the conference you want the kiosk to connect to
Now you need to set a few configurations. From the admin screen, choose set printer
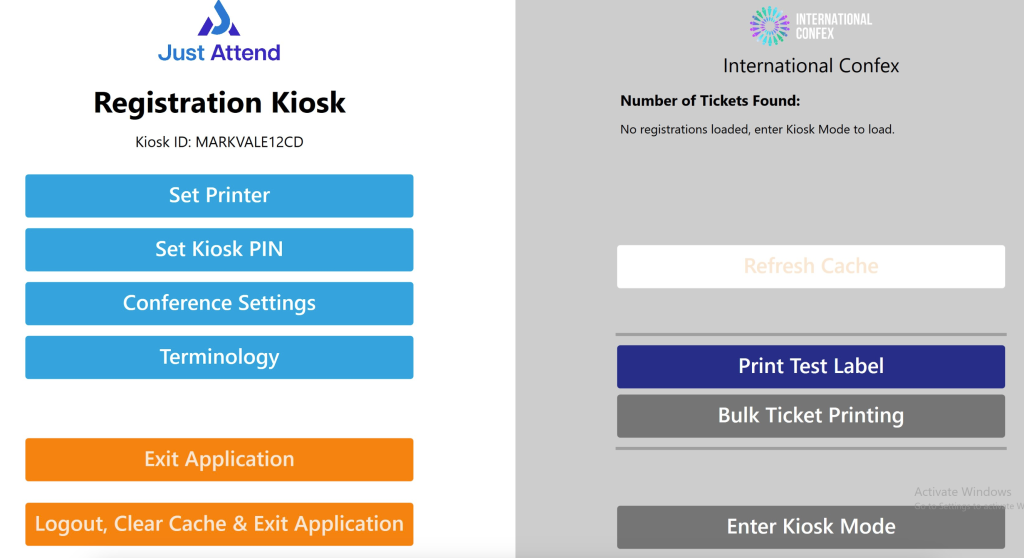
The printer should automatically be selected, but the printer name will be it’s asset tag reference number. You can find this on the back of the printer and will look like this “T635000”.
Once you have selected the right printer, now you need to set a PIN number. This is used for when you need to reprint someone’s badge or exit kiosk mode back to the admin screen.
Set this to anything you want, but it must be memorable. We recommend using the same PIN number for all rented kiosks.
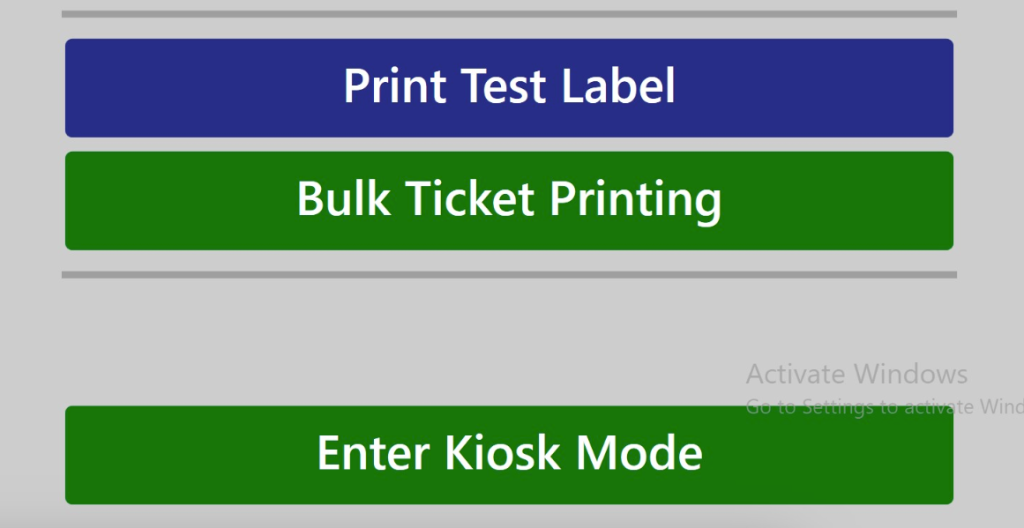
Now the Enter Kiosk Mode button should illuminate Green. This indicates the kiosk is ready to work.
Note: If you want to enable search by name, go into Conference Settings and check the “search by name” box.
Enter kiosk mode to begin badge printing.
We recommend you print one badge first as this will align the badge labels to the proper place. The second badge onwards will print as expected.
Attendees can scan their ticket QR code to check-in and print their badge or they can type in their email address.
Troubleshooting
Half printed designs
If the badges only print half a design, then it is likely that the printer driver settings have changed. To check this do the following:
- Press the Windows key to open the start menu
- In the Windows search bar, enter “Printer”
- Click on the “Printers and Scanners” option
- Now click on the printer in the list
- Click on Printing Preferences
- On the print driver screen you’ll see Media Name. If this is not set to “Event Standard Badge” then the paper size is wrong. Change this setting to Event Standard Badge and press OK
If 4 x 6 Standard badge is not a selectable option, enter the following dimensions manually:
- Width 101.6mm
- Length 305mm
- Media Form: Continuous Paper Black Mark
Once these are applied, the badge will print properly.
Smudges or gaps in printing
If you begin to notice gaps or smudges in the badge prints this indicates the print head needs cleaning. The printer can be set to do automatic maintenance, but this can sometimes get in the way of people checking in. To avoid this, we disable this maintenance.
The downside is that you’ll need to run this manually when you have a 2 minute gap in your queues. To initiate head cleaning, press and hold the cleaning button on the front of the printer for 3 seconds.
Usually running it once is enough, but depending on how severe it is, you may need to run it a second time.
Try not to over clean the head as the cleaning process uses ink to flush the nozzles to unblock them. The more you use it, the less ink you have to print your badges.
You’ve made a change to someone’s badge, but the old version is still printing
Changes to people’s badges done on the back end take 30 seconds to download to the kiosk. If this time has passed and the kiosk is still printing the old version of the badge, check the internet connection hasn’t dropped on the kiosk. Sometimes venue WIFI times out and you need to sign back into it.